|
This project started out as a cherry log section about
14" in diameter and 18" long, split
in half with wedges and sledge. The half-log was very green and weighed
about 35 lbs.
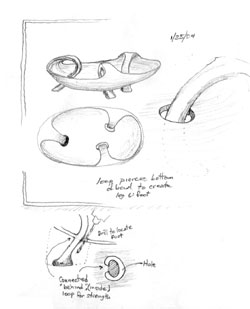
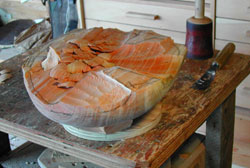
I started out by drawing the rough shape and features, in this case
the areas to be left
uncarved for a while, and chopping down to a rough shape with a hatchet
and the
60mm wide gouge shown in the tool photo below. |
|
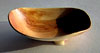
Above: The bottom has been smoothed
with gouges and Surform Rasps to help
visualize the overall shape of the bowl. |
|
The bowl blank is securely fastened to
the bench and shaping of the top and rim
continues. |
|

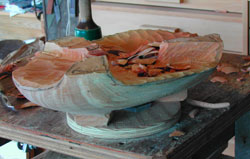
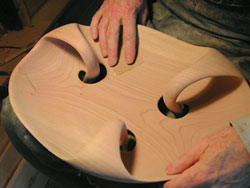
The looping shapes are more defined
here and the thickness of body of the
bowl is roughed in to about 3/8". |
|
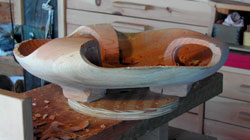
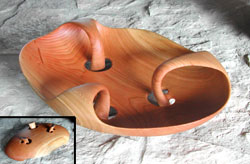
Coming along now. The blocks left
for the feet need to be shaped next. Quite a way to go yet to get the bowl
thickness down to 3/16" or so. |
|
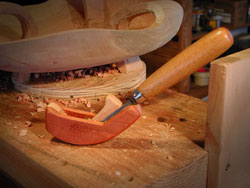
Here is a small "Chisel Plane" I made today to help clean up and thin the bowl
bottom. Those loops kept getting in the
way of larger tools. |
|
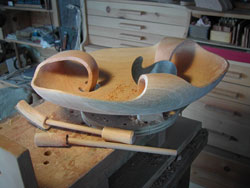
Thinning down with the help of a goose-neck scraper (in bowl, above) and a couple of custom made sanding
sticks. Bottom is about 1/4" thick, about
1/16" to go once the inside shape is done. |
|
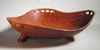
The rim and 'loops' are now their final
shape and I'm in sanding mode. The 35
pound half-log now weighs about a
pound. We'll use all those the chips to help heat shop. Last step is to apply an
oil finish. |
|
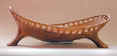
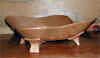
Just about done! Final sanding and a few more coats of oil, final inspection, then sign it. I like to let a bowl like this sit in a
sunny spot for a week or so to allow the
finish to completely cure. Also, if there are going to be any surprises - like dull
spots, blemishes or cracks, I will find
rather than have a new owner be
disappointed. |
| |
|
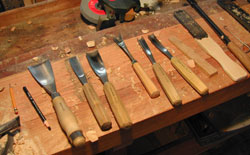
These are the main tools used on this bowl. |